


We've been trying to find joy in the process of spending some of our extra free time exploring creative projects at-home without abandon. In hopes of passing some of that maker magic onto you, we're continuing our at-home maker series this week with a special nod to Earth Week. Our talented Creative Design Manager, Phoebe, has found inspiration in upcycling old furniture by using materials to stain and refinish wood that she can find in her own kitchen cabinet. Want to test out a little earth-friendly DIY project in your home this weekend?
Read below to learn more from Phoebe about how she took someone's curbside trash and turned it into at-home treasure!

Upcycled Furniture: A fun Home Project

Spring time in Portland is my favorite season for many reasons, one of them being that Portlanders collectively decide to clear out their basements, reorganize their garages, and re-home any and all old furniture to the side of the road. And as they say, one man's trash is another's treasure, so you can bet I welcome that trash into my home with open arms (literally– that's how I bring all this shit back to my house). Long story short, I found this old table and pair of shelves on the side of the road a couple of weeks ago and felt inspired to turn them into an antiqued tv-stand.

The first order of business was to remove the original top of the table and replace it with the boards from the shelves. After sanding the living daylights out of everything, I connected the top boards with a metal bracket and screwed them to the table legs. I also added an appearance board around the top of the table to secure the legs and give it more of a "farmhouse" table look (I'm from Vermont, I can't help it). I then applied a thin coat of black paint (just some random black acrylic paint I had in my art supplies) and lightly scuffed up the edges with sandpaper for that sweet, sweet antiqued look.

To stain the top, I used a process called ebonizing. This process uses a reaction between iron oxide and the natural tannins in wood, resulting in a lovely, naturally-aged look. What I love about this DIY stain is that it's made from non-toxic, inexpensive ingredients, many of which you can find in your house. This stain is also great to use indoors because it won't flood your house or apartment with a nauseating amount of fumes!
Here's what I used for this particular project:
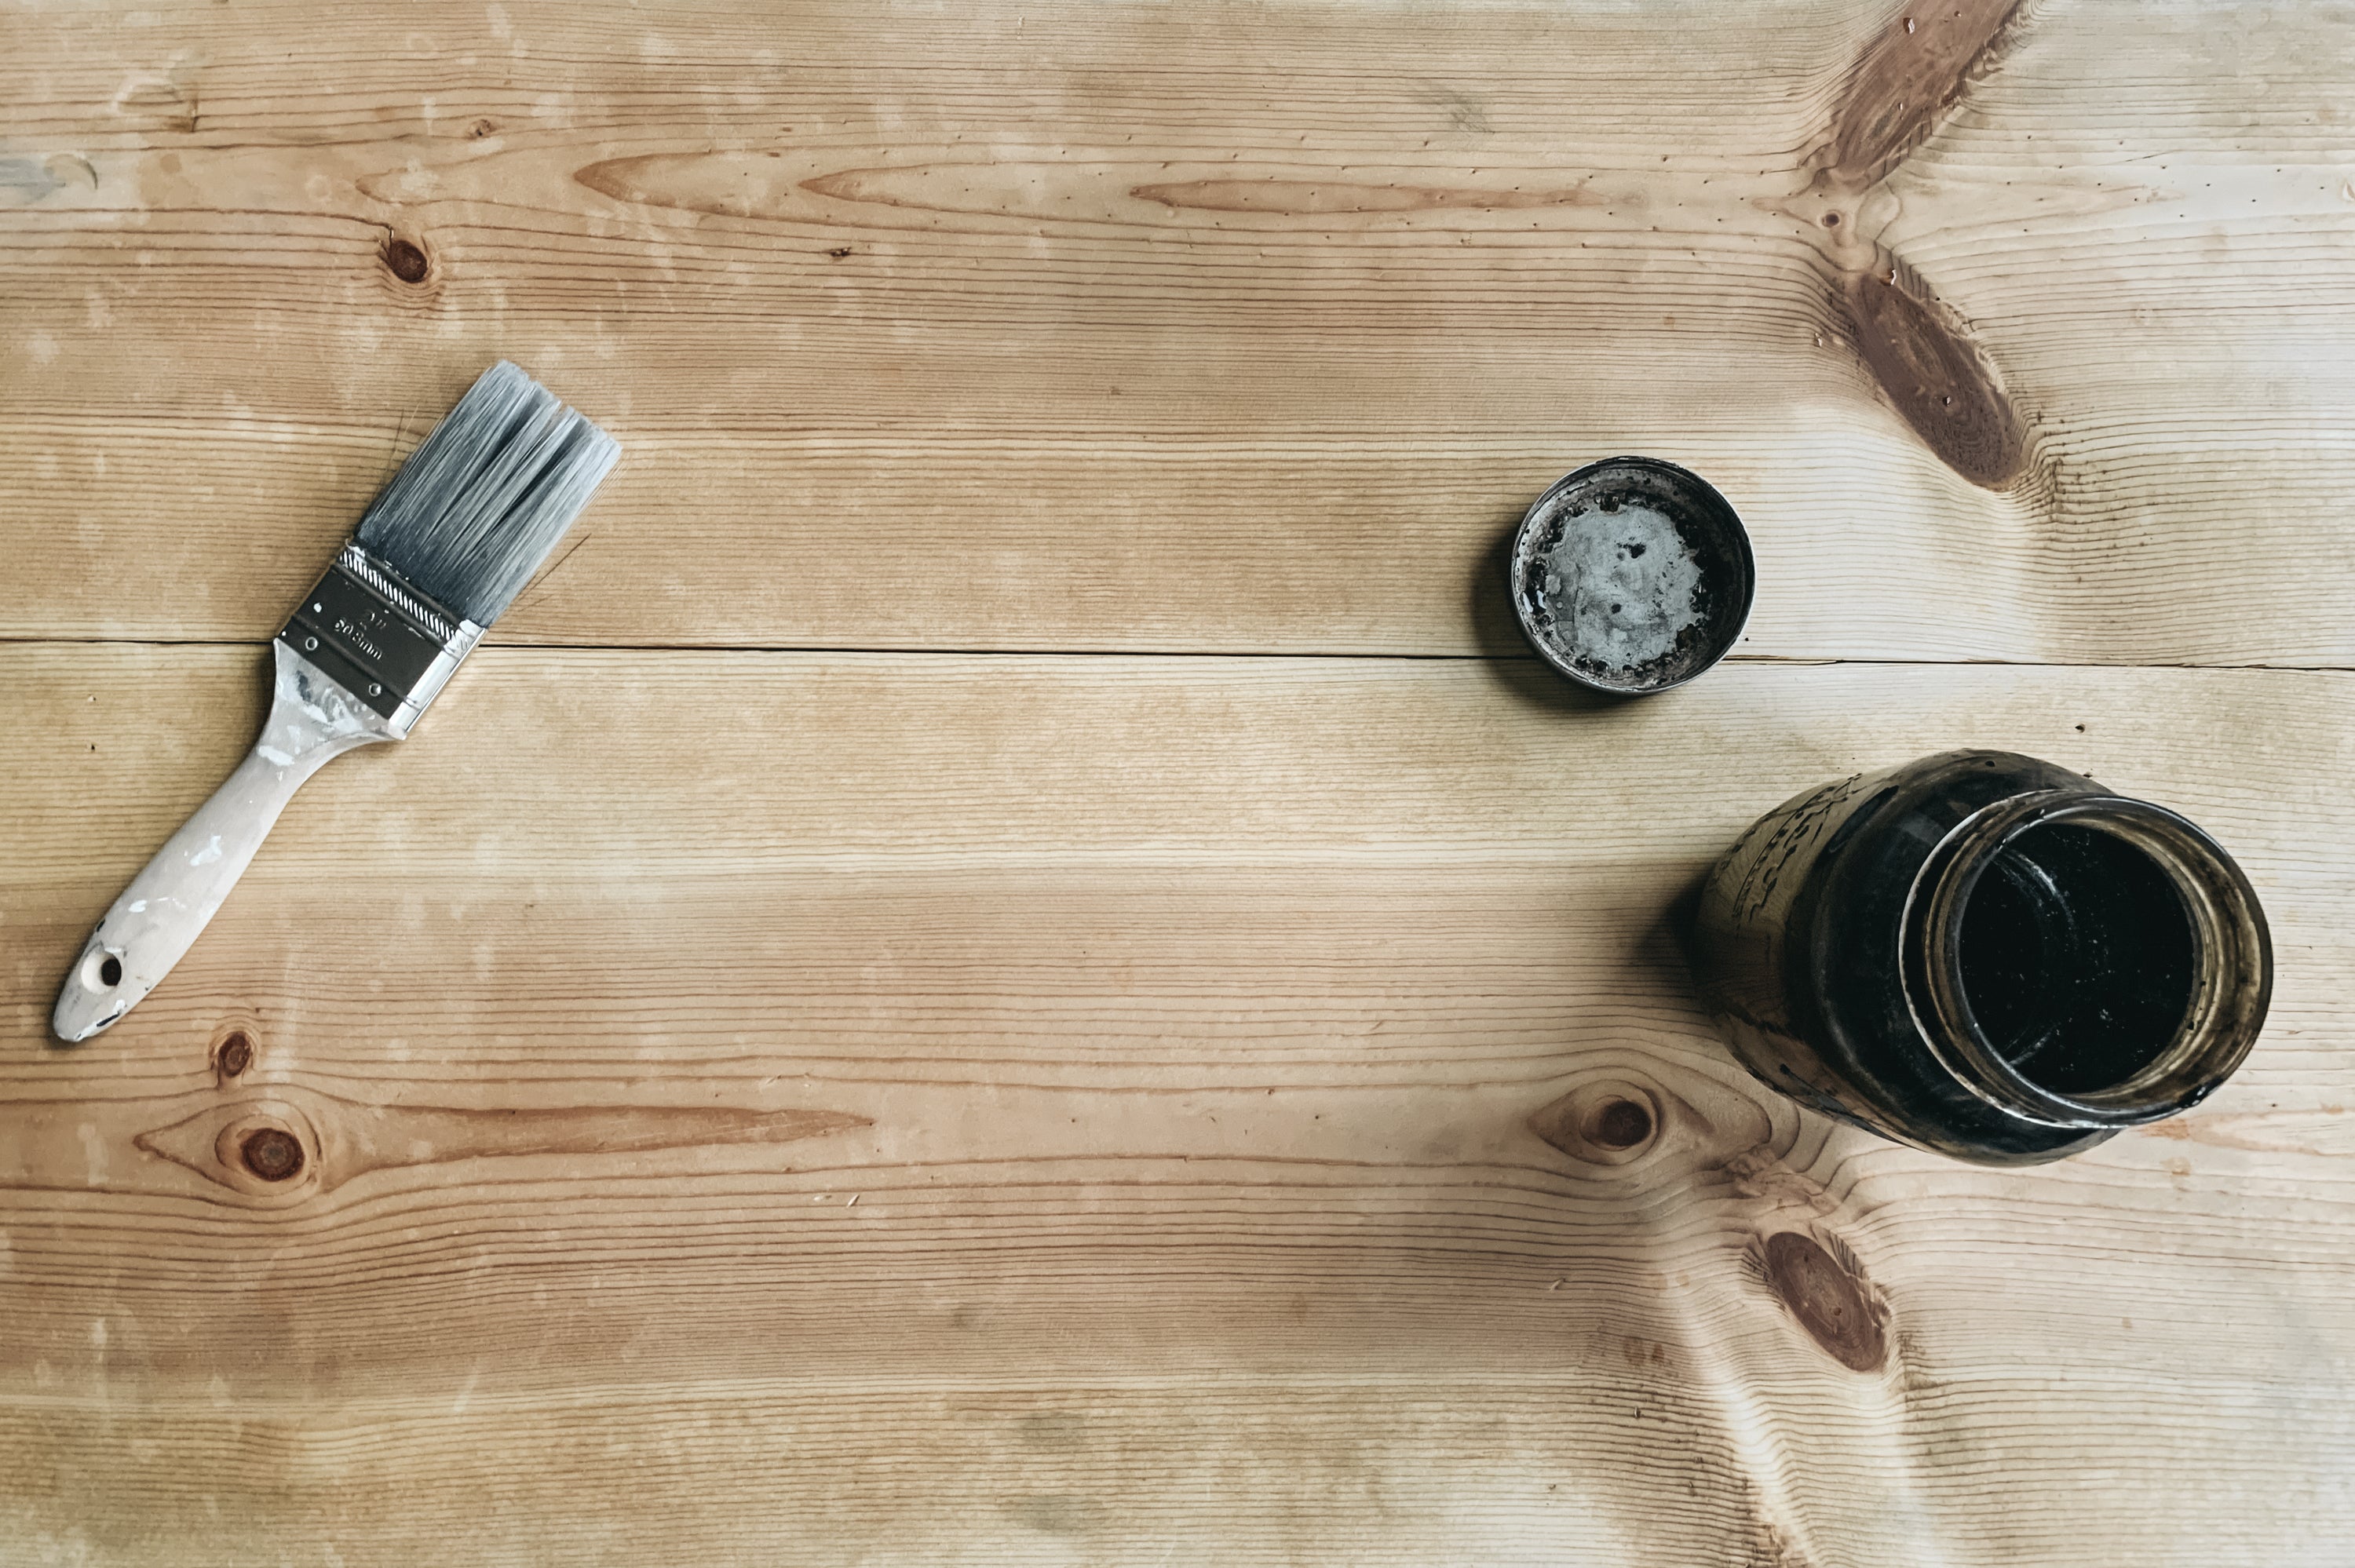
- 32oz mason jar
- 2 1/3 cups of apple cider vinegar
- 1/3 cup of balsamic vinegar
- 6 tablespoons of whole bean coffee
- 3 "chunks" of fine steel wool
Steps:
Grind your coffee to the finest grind possible and place the grounds in your mason jar. Bring some water to a boil (I used a kettle) and pour a very small amount over the grounds in the mason jar– just enough water to fully saturate the grounds. Then stuff the steel wool into the mason jar and pour the vinegars over the wool. Screw the top on the mason jar and give it a good shake.
Substitutes:
You can substitute coffee with black tea if you're not a bean drinker, and can also play around with different ratios and types of vinegar. The type of vinegar you use will change the color of the stain (white vinegar vs balsamic vs apple cider), and there are a lot of great examples online of different stain results based on different vinegars, so feel free to play around with whatever you have on hand!
Time:
A general rule of thumb I've discovered is the longer you wait the better. Because the steel wool will begin to dissolve pretty quickly, you could have a stain ready to go after letting it sit for just one day. For this project, I let the stain sit for two weeks to achieve a nicely saturated and pungent result.

The stain will apply like water and will look disappointingly light at first, but do not be fooled! It will darken quickly as it dries and dissolves into the wood fibers. Because of the watery consistency, it can be pretty messy to work with, so make sure to wear gloves and cover your floor with some cloth or newspaper. If you do get some on your clothes or other hard surfaces, I find that it's very easy to clean up with a wet rag and some soap (yet another benefit of avoiding oil-based stains!). I also recommend brushing on a very light layer and then use a rag or paper towel to wipe off any access stain and to help it fully absorb into the wood. Let it fully dry before you apply any additional coats.
 Ta-da! She's all done.

Before and after with two applications of stain. I love how the apple cider vinegar adds a some warmth to the color!

The final product in its new home! I hope this gives you some inspiration for your next home project, and remember to keep your eyes peeled for random stuff on the side of the road– you never know what you might find!